W&B Weave Self-Managed
Self-hosting W&B Weave allows you have more control over its environment and configuration. This can be helpful for use cases that require isolation and additional security compliance. This guide explains how to deploy all the components required to run W&B Weave in a self-managed environment.
Self-managed Weave deployments rely on ClickHouseDB to manage its backend. Although the deployment process sets up a fully functional ClickHouseDB instance, you may need to take additional steps to ensure reliability and high availability for a production-ready environment.
Requirements
Setting up a self-managed instance of Weave requires:
- The W&B Platform installed.
- The Altinity Kubernetes Operator for ClickHouse.
- An S3 bucket pre-configured for ClickHouse storage. For configuration details, see Provide S3 Credentials.
- A Kubernetes cluster node with the following specifications:
- CPU: 8 cores
- RAM: 64 GB
- Disk: 200GB+
- A Weave-enabled license from W&B. To request a license, contact
support@wandb.com.
For a detailed reference architecture, see https://docs.wandb.ai/guides/hosting/self-managed/ref-arch/.
1. Deploy ClickHouse
The ClickHouse deployment in this guide uses the Altinity Kubernetes Operator for ClickHouse.
Altinity uses operator to install, configure, and run a ClickHouse cluster in a Kubernetes cluster, including setting up persistent storage and replication. See the ClickHouse Operator repo for in-depth technical details and advanced configuration.
Configure Helm repository
To begin deploying ClickHouse:
-
Add the Altinity Helm repository:
helm repo add altinity https://helm.altinity.com -
Update the helm repository:
helm repo update
Install Altinity Operator:
helm install ch-operator altinity/clickhouse --namespace clickhouse --create-namespace --version 0.2.6
Configure bucket access/secret credentials:
# Create secret in clickhouse namespace with bucket secret
 SECRET_NAME="ch-bucket-cred"
 NAMESPACE="clickhouse"
 ACCESS_ID=# Get ACCESS_ID and SECRET from bucket
 kubectl -n "$NAMESPACE" create secret generic "$SECRET_NAME" \
 --from-literal=access_key="$ACCESS_ID" \
 --from-literal=secret_key="$SECRET" \
 --dry-run=client -o yaml | kubectl apply -f -
Deploy keeper into Kubernetes cluster:
Customize the storageClassName paramater in the following configuration and then run:
kubectl apply -f ch-keeper.yaml -n clickhouse
apiVersion: "clickhouse-keeper.altinity.com/v1"
kind: "ClickHouseKeeperInstallation"
metadata:
 name: wandb
 annotations: {}
spec:
 # Default templates for all clusters
 # I'm using specific templates, but we can move all configuration
 # to default templates and suppress the templates section in the cluster configuration
 defaults:
   templates:
     podTemplate: default
     dataVolumeClaimTemplate: default

 # Clickhouse Keeper cluster templates
 templates:
   podTemplates:
     - name: keeper
       metadata:
         annotations: {}
         labels:
           app: clickhouse-keeper
       spec:
         # Pod security context: Need to set for OpenShift
         # securityContext:
         #   runAsNonRoot: true
         #   runAsUser: 101 # Your OpenShift user ID
         #   runAsGroup: 0
         #   fsGroup: 101 # Your OpenShift user ID
         #   fsGroupChangePolicy: "Always"
         #   seccompProfile:
         #     type: "RuntimeDefault"

         # Recommended for multiple nodes
         affinity:
           podAntiAffinity:
             requiredDuringSchedulingIgnoredDuringExecution:
               - labelSelector:
                   matchExpressions:
                     - key: "app"
                       operator: In
                       values:
                         - clickhouse-keeper
                 topologyKey: "kubernetes.io/hostname"

         # Container configuration
         containers:
           - name: clickhouse-keeper
             imagePullPolicy: IfNotPresent
             image: "clickhouse/clickhouse-keeper:25.3.5.42"
             resources:
               requests:
                 memory: "256M"
                 cpu: "1"
               limits:
                 memory: "4Gi"
                 cpu: "2"

             # Container security context: Need to set for OpenShift
             # securityContext:
             #   allowPrivilegeEscalation: false
             #   capabilities:
             #     drop:
             #       - ALL
             #     add:
             #       - NET_ADMIN
             #   privileged: false
             #   readOnlyRootFilesystem: false

   # Data volume claim template
   volumeClaimTemplates:
     - name: data
       metadata:
         labels:
           app: clickhouse-keeper
       spec:
         storageClassName: standard-rwo # Replace with your storage class
         accessModes:
           - ReadWriteOnce
         resources:
           requests:
             storage: 10Gi

 # CliCkhouse Keeper cluster configuration
 configuration:
   clusters:
     - name: keeper
       layout:
         replicasCount: 3
       # Templates for the cluster (not the default templates)
       templates:
         podTemplate: keeper
         dataVolumeClaimTemplate: data

   # For details, see:
   # https://clickhouse.com/docs/guides/sre/keeper/clickhouse-keeper#configuration
   settings:
     logger/level: "information"
     logger/console: "true"
     listen_host: "0.0.0.0"
     keeper_server/four_letter_word_white_list: "*"
     keeper_server/coordination_settings/raft_logs_level: "information"
Deploy ch-server into the Kubernetes cluster:
Customize the following fields in the following configuration as needed:
- Update
storageClassName - Update node endpoints
<zookeeperpod>.<namespace>.svc.cluster.local - Update host endpoints
<host><clickhouse-pod>.<namespace>.svc.cluster.local</host> - Update
storage_configuration - Sizes of cache and other filesystems
- Password for
weaveuser
Once you've updated your fields, apply the changes:
kubectl apply -f ch-server.yaml -n clickhouse
apiVersion: "clickhouse.altinity.com/v1"
kind: "ClickHouseInstallation"
metadata:
  name: wandb
  annotations: {}
spec:
  # Default templates for all clusters
  # I'm using specific templates, but we can move all configuration
  # to default templates and suppress the templates section in the cluster configuration
  defaults:
    templates:
      podTemplate: default
      dataVolumeClaimTemplate: default

  templates:
    podTemplates:
      - name: clickhouse
        metadata:
          annotations: {}
          labels:
            app: clickhouse-server
        spec:
          # Pod security context: Need to set for OpenShift
          # securityContext:
          #   runAsNonRoot: true
          #   runAsUser: 101 # Your OpenShift user ID
          #   runAsGroup: 0
          #   fsGroup: 101 # Your OpenShift user ID
          #   fsGroupChangePolicy: "Always"
          #   seccompProfile:
          #     type: "RuntimeDefault"

          # Recommended for multiple nodes
          affinity:
            podAntiAffinity:
              requiredDuringSchedulingIgnoredDuringExecution:
                - labelSelector:
                    matchExpressions:
                      - key: "app"
                        operator: In
                        values:
                          - clickhouse-server
                  topologyKey: "kubernetes.io/hostname"

          containers:
            - name: clickhouse
              image: clickhouse/clickhouse-server:25.3.5.42
              resources:
                requests:
                  memory: 2Gi
                  cpu: 1
                limits:
                  memory: 16Gi
                  cpu: 2
              # If you want to use AWS credentials, you can use the following:
              #env:
              #  - name: AWS_ACCESS_KEY_ID
              #    valueFrom:
              #      secretKeyRef:
              #        name: ch-bucket-cred
              #        key: access_key
              #  - name: AWS_SECRET_ACCESS_KEY
              #    valueFrom:
              #      secretKeyRef:
              #        name: ch-bucket-cred
              #        key: secret_key

              # Container security context: Need to set for OpenShift
              # securityContext:
              #   allowPrivilegeEscalation: false
              #   capabilities:
              #     drop:
              #       - ALL
              #     add:
              #       - NET_ADMIN
              #   privileged: false
              #   readOnlyRootFilesystem: false

    volumeClaimTemplates:
      - name: data
        metadata:
          labels:
            app: clickhouse-server
        spec:
          accessModes:
            - ReadWriteOnce
          resources:
            requests:
              storage: 50Gi
          storageClassName: standard-rwo

  configuration:
    # Refer to: https://clickhouse.com/docs/operations/server-configuration-parameters/settings#zookeeper
    zookeeper:
      nodes:
        - host: chk-wandb-keeper-0-0-0.clickhouse.svc.cluster.local # Set zookeeper node endpoints
          port: 2181
        - host: chk-wandb-keeper-0-1-0.clickhouse.svc.cluster.local # Set zookeeper node endpoints
          port: 2181
        - host: chk-wandb-keeper-0-2-0.clickhouse.svc.cluster.local # Set zookeeper node endpoints
          port: 2181
      # Other configurations
      # session_timeout_ms: 30000
      # operation_timeout_ms: 10000

    # Users configuration: https://clickhouse.com/docs/operations/configuration-files#user-settings
    # Tip for password :
    # sha256sum <<< weave123 OR echo -n weave123 | sha256sum OR printf "weave123" | sha256sum
    # It wil turn into <password_sha256_hex>...</password_sha256_hex> in user config
    users:
      weave/password:   # to use k8s secrets for "weave" user password
        valueFrom:
          secretKeyRef:
            name: <db-password>
            key: <password>
      weave/access_management: 1
      weave/profile: default
      weave/networks/ip:
        - 0.0.0.0/0

    # Settings configuration: https://clickhouse.com/docs/operations/server-configuration-parameters/settings
    # This can be here or in a config file
    settings:
      {}
      # prometheus/metrics: 1
      # prometheus/endpoint: /metrics
      # prometheus/port: 9191
      # prometheus/events: 1
      # prometheus/asynchronous_metrics: 1

    clusters:
      - name: clickhouse
        layout:
          shardsCount: 1
          replicasCount: 3
        templates:
          podTemplate: clickhouse
          dataVolumeClaimTemplate: data

    files:
      config.d/network_configuration.xml: |
        <clickhouse>
            <network_configuration>
                <listen_host>0.0.0.0</listen_host>
                <listen_host>::</listen_host>
            </network_configuration>
        </clickhouse>
      config.d/logger.xml: |
        <clickhouse>
            <logger>
                <level>information</level>
            </logger>
        </clickhouse>
      config.d/remote_servers.xml: |
        <clickhouse>
          <remote_servers>
            <weave_cluster>
              <shard>
                <replica>
                  <host>chi-wandb-clickhouse-0-0.clickhouse.svc.cluster.local</host> # Update shard replica host
                  <port>9000</port>
                </replica>
                <replica>
                  <host>chi-wandb-clickhouse-0-1.clickhouse.svc.cluster.local</host> Update shard replica host
                  <port>9000</port>
                </replica>
                <replica>
                  <host>chi-wandb-clickhouse-0-2.clickhouse.svc.cluster.local</host> Update shard replica host
                  <port>9000</port>
                </replica>
              </shard>
            </weave_cluster>
          </remote_servers>
        </clickhouse>
      config.d/storage_configuration.xml: |
        <clickhouse>
            <storage_configuration>
                <disks>
                    <s3_disk>
                        <type>s3</type>
                        <endpoint>https://storage.googleapis.com/wandbench-ch-1/{replica}</endpoint>
                        <metadata_path>/var/lib/clickhouse/disks/s3_disk/</metadata_path>
                        <use_environment_credentials>true</use_environment_credentials>
                        <s3_use_virtual_hosted_style>false</s3_use_virtual_hosted_style>
                    </s3_disk>
                    <s3_disk_cache>
                        <type>cache</type>
                        <disk>s3_disk</disk>
                        <path>/var/lib/clickhouse/s3_disk_cache/cache/</path>
                        <!-- THE CACHE SIZE MUST BE LOWER THAN PERSISTENT VOLUME -->
                        <max_size>40Gi</max_size>
                        <cache_on_write_operations>true</cache_on_write_operations>
                    </s3_disk_cache>
                </disks>
                <policies>
                    <s3_main>
                        <volumes>
                            <main>
                                <disk>s3_disk_cache</disk>
                            </main>
                        </volumes>
                    </s3_main>
                </policies>
            </storage_configuration>
            <merge_tree>
                <storage_policy>s3_main</storage_policy>
            </merge_tree>
        </clickhouse>
Confirm ClickHouse deployment
Confirm that ClickHouse is deployed using the following command:
kubectl get pods -n clickhouse
The command returns the following pods:
NAME                                                        READY   STATUS    RESTARTS   AGE
ch-operator-altinity-clickhouse-operator-56d6c46f49-nqqv7   2/2     Running   0          158m
chi-wandb-clickhouse-0-0-0                                  1/1     Running   0          2m10s
chi-wandb-clickhouse-0-1-0                                  1/1     Running   0          79s
chi-wandb-clickhouse-0-2-0                                  1/1     Running   0          15s
chk-wandb-keeper-0-0-0                                      1/1     Running   0          137m
chk-wandb-keeper-0-1-0                                      1/1     Running   0          137m
chk-wandb-keeper-0-2-0                                      1/1     Running   0          137m
2. Add ClickHouse Configuration in W&B Platform CR
To integrate the ClickHouse database with W&B, edit the CR instance used to deploy the platform:
- Use Kubernetes service details to configure Weave tracing:
- Endpoint:
<release-name>-headless.<namespace>.svc.cluster.local- Replace
<release-name>with your Helm release name - Replace
<namespace>with yourNAMESPACE - Get the service details:
kubectl get svc -n <namespace>
- Replace
- Username: Set in the
values.yaml - Password: Set in the
values.yaml
-
Using this information, update the W&B Platform Custom Resource(CR) by adding the following configuration:
apiVersion: apps.wandb.com/v1
kind: WeightsAndBiases
metadata:
  labels:
    app.kubernetes.io/name: weightsandbiases
    app.kubernetes.io/instance: wandb
  name: wandb
  namespace: default
spec:
  values:
    global:
    [...]
      clickhouse:
        host: <release-name>-headless.<namespace>.svc.cluster.local
        port: 8123
        password: <password>
        user: <username>
        database: wandb_weave
        # `replicated` must be set to `true` if replicating data across multiple nodes
        # This is in preview, use the env var `WF_CLICKHOUSE_REPLICATED`
        replicated: true

      weave-trace:
        enabled: true
    [...]
    weave-trace:
      install: true
      extraEnv:
        WF_CLICKHOUSE_REPLICATED: "true"
    [...]
When using more than one replica (W&B recommend a least 3 replicas), ensure to have the following environment variable set for Weave Traces.
extraEnv:
  WF_CLICKHOUSE_REPLICATED: "true"
This has the same effect as replicated: true.
-
Set the
clusterNameinvalues.yamltoweave_cluster. The database migration fails if you do not set this value correctly.If you want to set a different cluster name, you can set the
WF_CLICKHOUSE_REPLICATED_CLUSTERenvironment variable inweave-trace.extraEnvto match the chosen name, as shown in the example below.[...]
clickhouse:
host: <release-name>-headless.<namespace>.svc.cluster.local
port: 8123
password: <password>
user: <username>
database: wandb_weave
# `replicated` must be set to `true` if replicating data across multiple nodes
# This is in preview, use the env var `WF_CLICKHOUSE_REPLICATED`
replicated: true
weave-trace:
enabled: true
[...]
weave-trace:
install: true
extraEnv:
WF_CLICKHOUSE_REPLICATED: "true"
WF_CLICKHOUSE_REPLICATED_CLUSTER: "different_cluster_name"
[...]The final configuration looks like the following example:
apiVersion: apps.wandb.com/v1
kind: WeightsAndBiases
metadata:
  labels:
    app.kubernetes.io/name: weightsandbiases
    app.kubernetes.io/instance: wandb
  name: wandb
  namespace: default
spec:
  values:
    global:
      license: eyJhbGnUzaHgyQjQyQWhEU3...ZieKQ2x5GGfw
      host: https://wandb.example.com

      bucket:
        name: abc-wandb-moving-pipefish
        provider: gcs

      mysql:
        database: wandb_local
        host: 10.218.0.2
        name: wandb_local
        password: 8wtX6cJHizAZvYScjDzZcUarK4zZGjpV
        port: 3306
        user: wandb

      clickhouse:
        host: <release-name>-headless.<namespace>.svc.cluster.local
        port: 8123
        password: <password>
        user: <username>
        database: wandb_weave
        # This option must be true if replicating data across multiple nodes
        replicated: true

      weave-trace:
        enabled: true

    ingress:
      annotations:
        ingress.gcp.kubernetes.io/pre-shared-cert: abc-wandb-cert-creative-puma
        kubernetes.io/ingress.class: gce
        kubernetes.io/ingress.global-static-ip-name: abc-wandb-operator-address

    weave-trace:
      install: true
      extraEnv:
WF_CLICKHOUSE_REPLICATED: "true" -
With the Custom Resource (CR) prepared, apply the new configuration:
kubectl apply -f wandb.yaml
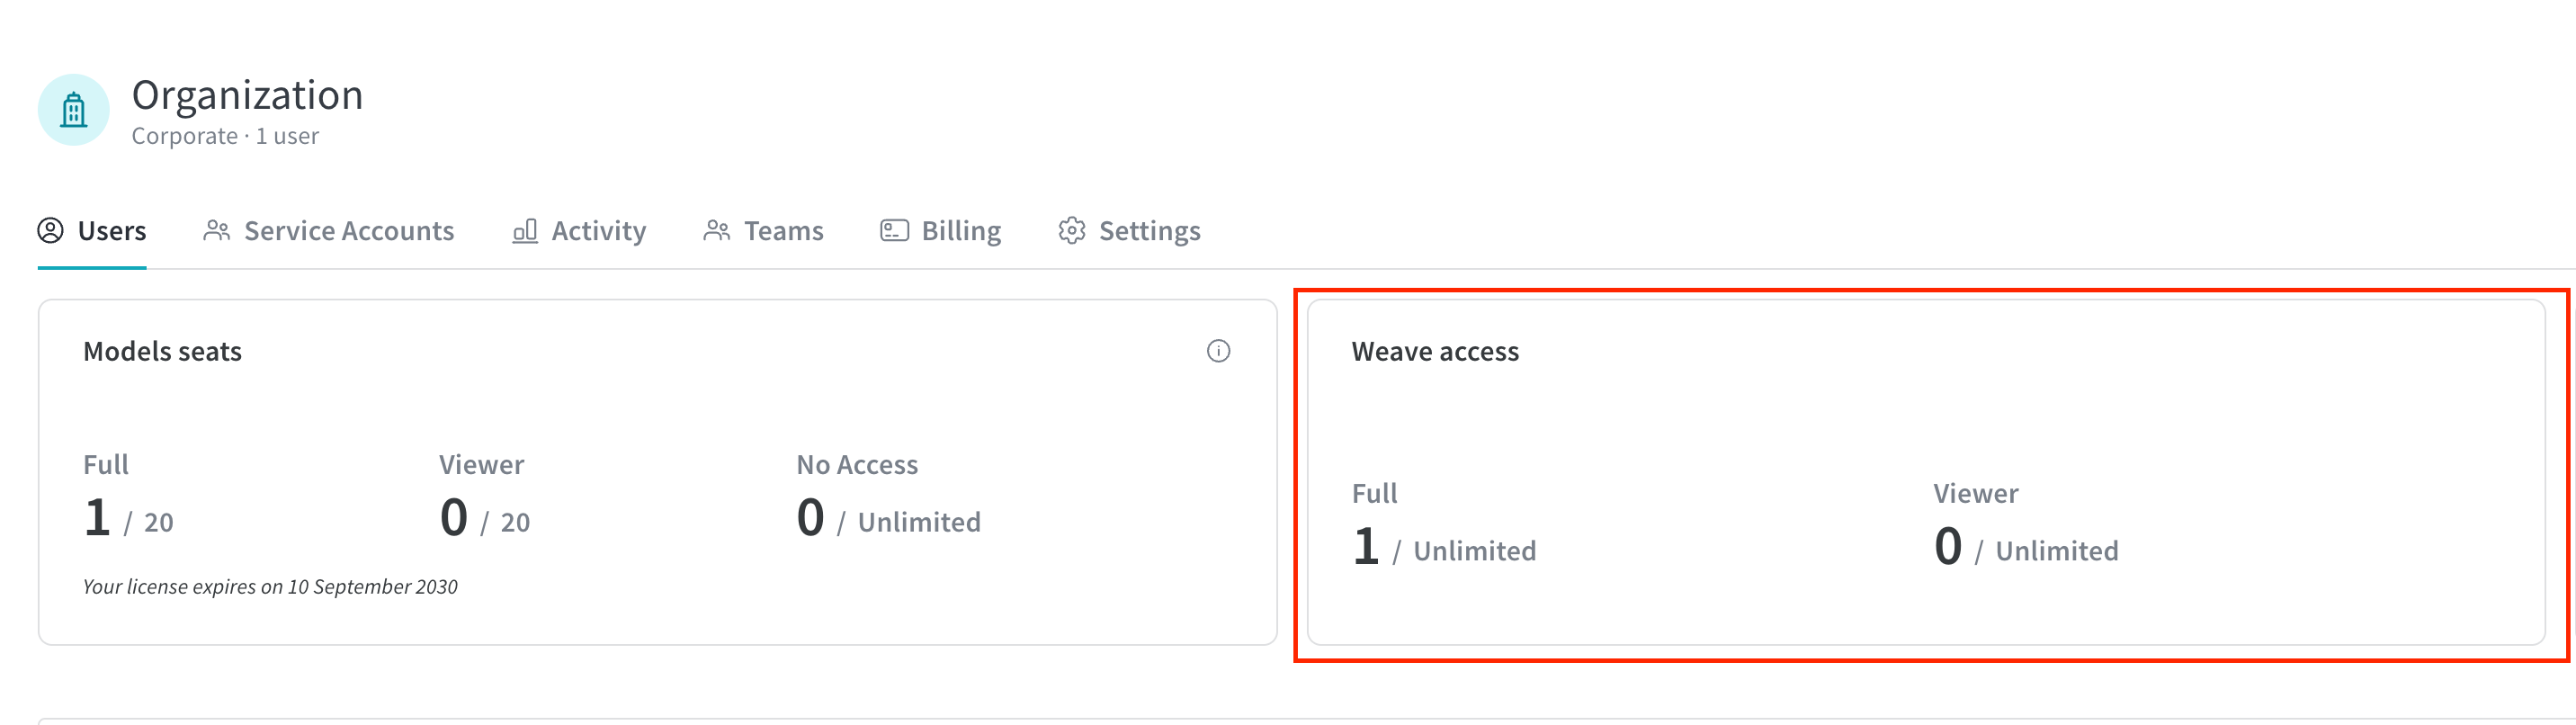
3. Access Weave
Once the deployment is running, you can access it using W&B endpoint configured in the host field. It shows the Weave licensing status as enabled.